|
|
Monday, October 29th, 2018
I had my first cello lesson today. Teacher was intrigued in the cello and interested in helping me with technique. Said it would be a challenge as a lot of his teaching techniques are specific to cello geometry, which differs in key ways from that of the tin-can cello.
Advice for left hand is learning first position, with scales and Suzuki tunes. Thumb position is key, the thumb should be in back of the neck or even on the outside of the neck. Right hand, my fingers should cradle the frog. The angle of bow hair to string is different than when playing violin, the bow hair is facing the floor, so angled away from you. (These two bits of advice are by themselves worth the cost of the lesson.) We tried playing Humorèsque together. Vibrato was mentioned.
posted evening of October 29th, 2018: 2 responses
➳ More posts about The Tin-can Cello
|  |
|
Looks like I will not need a jeweler's saw, just the drill press and files are working fine.

posted morning of October 29th, 2018: Respond
➳ More posts about Luthery
|  |
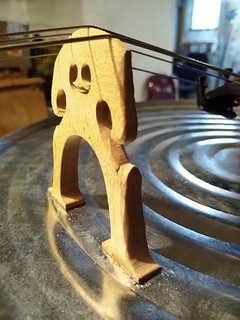
Sunday, October 28th, 2018
I am following (loosely) the plan David Courtney writes about at Chandrakantha.com for setting up a dilruba bridge.
The idea is to keep the rigidity of the shape but open up its structure, to reduce mass. I'll cut the marked areas away using a combination of drill press and fret saw (the latter of which I'll need to find, and acquire a jeweler's blade).
posted morning of October 28th, 2018: Respond
➳ More posts about Woodworking
|  |
Sunday, October 21st, 2018
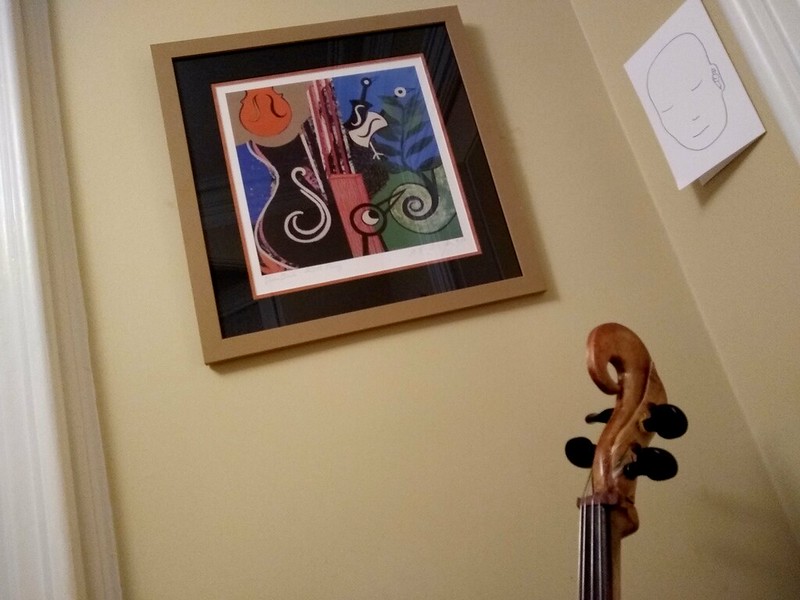
posted evening of October 21st, 2018: Respond
➳ More posts about Pretty Pictures
| |
Saturday, October 20th, 2018
I mean I'm sure I'll be doing bits of setup here and there for months. But for all intents and purposes. Here's what it sounds like... pardon the atrocious playing :), I've just now contacted a local cello teacher!
It's funny, because my original estimate for best-case when I might finish the cello was "end of September". Not bad considering! This whole project has taken like 4 months from conception to execution.
 Update from Sunday morning: wow! The instrument stayed nearly in tune overnight! First time that has happened. A couple of things to be done this morning: I forgot to put parchment on the bridge for the A and D strings; I want to re-drill the string holes in the pegs; some of the pegs need a little more peg dope. I ordered fine tuners.
posted afternoon of October 20th, 2018: Respond
➳ More posts about Projects
| |
Friday, October 19th, 2018
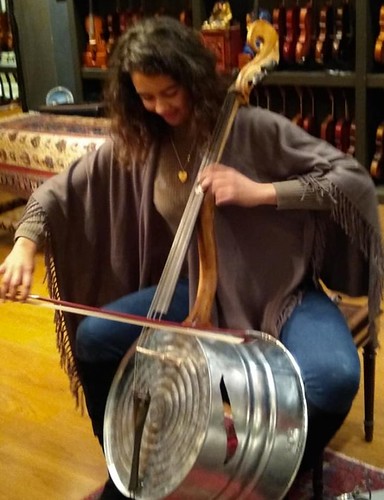
The Tin-can Cello is born! I was at Menzel Violins in Livingston today to get some help with the setup and everybody was interested in it. One cellist played a few bars!
posted evening of October 19th, 2018: Respond
|  |
Wednesday, October 17th, 2018
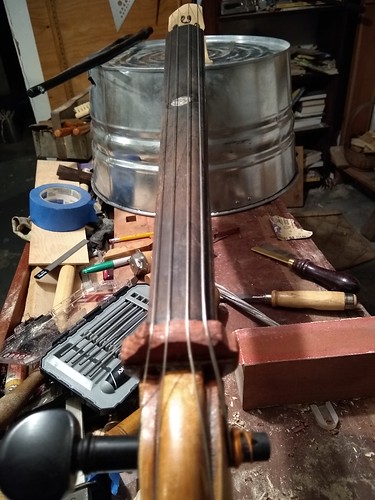
I've got strings on my tin-can cello! It's nearly an instrument. Remaining steps:
- Finalize the grooves in the nut: I'll do this one string at a time -- mark the groove, take the string off, file the groove out, put the string back on. This will also be an opportunity to put peg dope on the pegs.
- Bring the strings up to pitch and finalize the string heights at the bridge.
- Finish carving the bridge in relief and chamfer.
Pretty sure that's it. At this point, I can play an open string and hear it ring. Sounds nice!
 Update -- I have done more work on the nut and bridge. At this point I can play the instrument and finger notes. I think the strings are too high (except for the A string, which might be too low), going to check with Mo Menzel for setup advice. I hope I did not take too much material off the treble side of the bridge.
posted evening of October 17th, 2018: Respond
| |
Sunday, October 14th, 2018
Mike pointed out to me an issue with the design of the tin-can cello, one which had previously been called out on a Maestronet thread -- the bridge is in contact with the soundboard near the outside of its radius rather than near the center, which is more resonant. The tone will be bright and lacking in bass, which is pretty key to a cello's tone...
So, well, ideas for a future tin-can cello variation I guess. I'm pretty committed to having the bridge near the top of the soundboard, based on the length and angle of the neck; a big change would mean starting pretty much from scratch. In addition, there's a mechanical reason for keeping the bridge high: the bow stroke needs to be clear of the washtub.
Update: After setting up, the tone seems to be just fine, plenty of bass.
posted afternoon of October 14th, 2018: Respond
| |
|
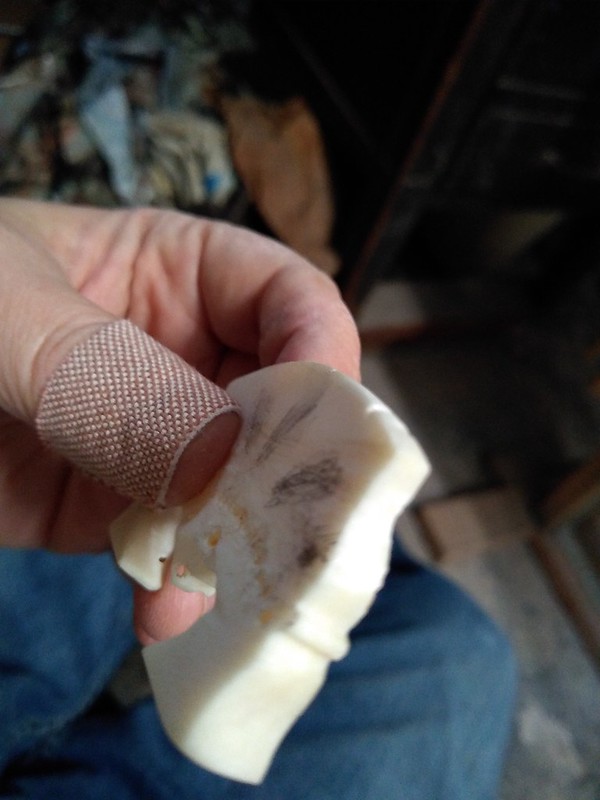
I will not carve the nut until after the glue dries and cures overnight. Instead for now I want to describe the process I'm anticipating that I'll follow.
Here is a rough sketch of how the nut needs to be cut away:
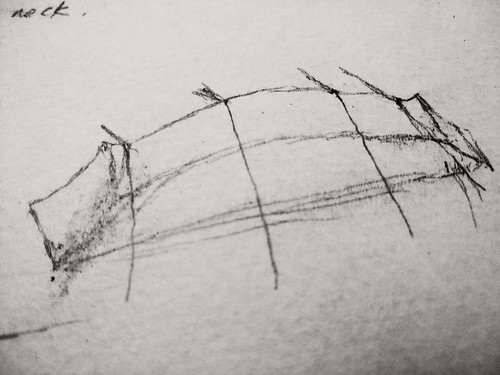
steps:
- Locate the points where the C and A strings will cross the nut. There is 23mm distance between the centers of these two strings; center the calipers vis-a-vis the width of the fingerboard. Mark with a knife where the caliper jaws cross the top edge of the nut blank. Pencil in the two verticals.
- Trace the curve of the fingerboard freehand in pencil in between the two verticals. Leave a space of 1.5mm between the surface of the fingerboard and the mark.
- Sketch in the outlines of the two sides of the nut, the horns that you can see in the drawing and the curve down to the end of the nut.
- With a ryoba saw, cut away a kerf for the C and A strings. Use the corresponding peg location as a reference.
- With a small carving chisel/gouge. cut away and shape the arch, terminating at the kerf on either side. Next carve out the horn and bevel, and scoop away the side.
- With chisel, rasp and file shape the angled surface of the arch, using peg locations for reference. The arch needs to support each string without any kinks and guide it toward the peg.
- Smooth everything with sandpaper to 400.
- Locate and cut grooves for the strings.
↻...done
posted morning of October 14th, 2018: Respond
|  |
|
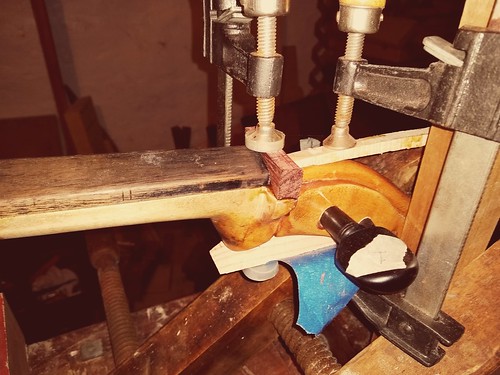
So I'm pretty impatient, which is not a particularly good quality when it comes to woodworking; even less so when it comes to luthery. (Well ntm, just in general.) Most every wood project I've ever worked on has had issues in the glue-up. Well now I'm using hide glue rather than wood glue, which means I get a second chance!
After a couple of abortive attempts yesterday I got the nut glued in place; but when I looked at it this morning I saw that the way I had clamped it had not held it in place abutting the fingerboard, and there was a gap. Since the glue is hide glue, it was pretty quick work to break the joint apart. Now it is glued up and clamped in place again, with a brace holding it tight against the fingerboard... I'm impatient to start shaping the nut but first I have to get the blank glued in place properly.
posted morning of October 14th, 2018: 2 responses
| Previous posts
Archives  | |
|
Drop me a line! or, sign my Guestbook.
•
Check out Ellen's writing at Patch.com.
| |